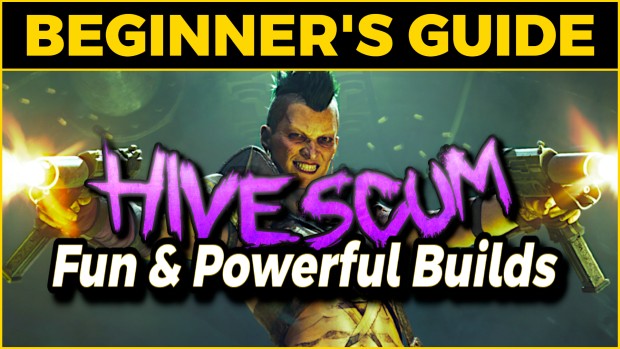
Unlike the Arbiter who could probably face-tank a Greater Deamon, the Hive Scum is a true glass cannon. It can shred through heretics by the hundreds, but it's about as durable as that awful one-ply toilet paper you bought once, used once, and then swore never to touch again.
Or as normal people would say, Hive Scum has a pretty steep learning curve. So to make your life easier, let me walk you through a couple of fun, powerful builds that can handle anything the game throws at you - short of the most grueling Havoc missions.
Video version of this guide (~11 minutes)
Build #1 - Run 'n Gun 'n Gun

This first build might honestly be my favorite in the entire game. It's the kind of build where once you start shooting, you don't stop until literally everyone around you is dead. And you do it in style!
Your bread and butter are the Dual Autopistols. Thanks to the Desperado ultimate they consume no ammo to fire, mulch through anything with low armor, and thanks to the Vulture's Dodge talent, basically make you invincible while firing. So the plan is to sprint into the room, hold down the trigger, and let the Emperor sort 'em out.
But wait, there's more! Your stim exists solely to give you your ultimate back. So you can ult, erase an entire regiment's worth of cultists, stim to get your ult back quickly, and repeat. It's a glorious, bullet-powered feedback loop and a whole lot of fun!
That said, be careful with ammo outside of your ultimate. The Autopistols can absolutely devour your ammo reserves, so save them for specials, gunners, or emergencies.
During your downtime, swap to your crowbar and smash some heads in melee. It's a simple yet reliable weapon. You can clear infinite hordes just by rotating between heavy and push attacks. For Crushers, use your alt-fire to swap to the pointy end and poke them in the eyes. Use lights attacks when facing a horde of fatties, and heavies to stunlock individuals.
And if you ever run into a clown car of Crushers, Bulwarks or Ragers - pull out your rocket launcher and say goodbye to the problem. Shoot them with a rocket to stun them, then pop your ult and go to town on their face. They will absolutely melt!
Your job with this build is simple: lead the charge and clear rooms of gunners and other nastiest before they can threaten your team. Just don't run too far ahead. You're extremely squishy when you're not firing, so having a partner nearby is always a good idea.
It's a fast, chaotic and 'stupid but in a good way' kind of build. So if you ever wondered why Orks love their dakka so much, this build should answer that question quite well... and quite loudly!
Build #2 - Sir Stabalot
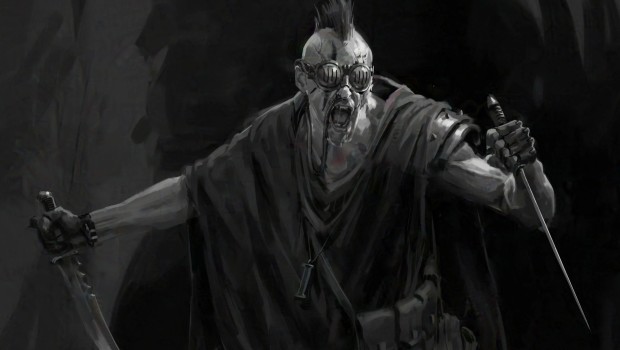
The second build really leans into the Hive Scum stereotype by turning you into an absurdly fast, hard-hitting, chemically-enhanced glass cannon.
The gameplan is again very simple: mulch hordes and delete priority targets like bosses and elites. If needed you can flex into almost any role, but that power comes at a price - low survivability. If you get caught off guard, you will explode almost instantly. So play fast and aggressive, but always have an escape route in mind.
Against normal enemies, just spam light attacks at head height and your improvised shivs will carve through anything without Crusher-style armor in no time. When you do run into Crushers or other big boys, start sprinting to drop aggro with Untouchable, get behind them, pop your Rampage ultimate, and go wild on their ass. With 100% armor penetration and huge backstab damage, even your light attacks will melt them. Just make sure to aim at head height. And if you can't backstab, a couple of heavy attacks to the head will do the trick.
Do be warned, however: any talent that adds a damage-over-time effect will completely ruin your damage. So even though this build can stack bleeds or chem toxin easily, you should avoid them like the plague.
The one exception here are the Blackout Grenades. They're perfect for clearing a path to safety, wiping out a horde, or even forcing Crushers to sit down so you can line up a good backstab. Just don't use them when you're trying to do big bursts of damage.
The boss strategy is more of the same: let someone else grab aggro, pop Rampage, and stab until there's nothing left to stab. Just be ready for the turn-around, because you do so much damage the boss will definitely try to slap you around.
Your stim acts as a backup Rampage - a pure damage buff. Unless you're desperate, use it only when Rampage is on cooldown so you always have some chemical assistance.
For specials or ranged threats, switch to your dual pistols. They hit hard, you can fire them while sprinting, and they even have a fun little trick. The alt fire gives you bonus damage if you land a shot once the reticle closes. Great for sniping specials, and for feeling like a badass gunslinger!
It's a build with an incredibly high damage output, and a skill ceiling to match. You're probably going to eat dirt playing it at first, but once it clicks, it's insanely fun and it'll also teach you all the fundamental skills you'll ever need.
Build #3 - Bonesaw is ready!
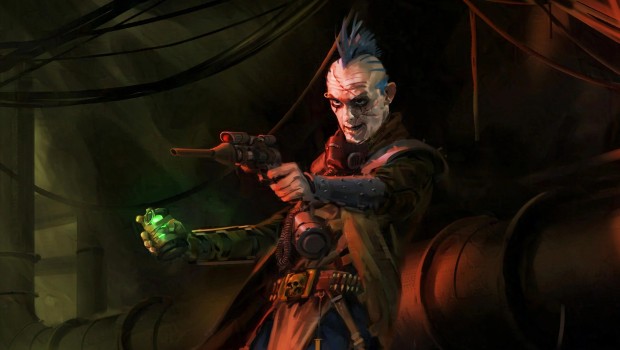
The third build is a bit of a toxic one - and I mean that literally. You're here to spray acid everywhere and make terrible, terrible puns like "Nice to melt you!"
When dealing with melee threats your bone saw is always ready. For hordes you can chain heavy and push attacks for big sweeping cleaves, or just forgo any fanciness and mash light attacks while Rampage is active. Either way, everything short of a Crusher will get torn apart pretty much instantly.
For Crushers, use the saw's alt-attack to coat the blade in armor-melting poison. It helps a ton, especially with Rampage rolling, though the needle pistol is still the more efficient, and safer, option.
With yellow ammo you only need three needles to turn a mighty Crusher into a mighty puddle of goop. Blue ammo, on the other hand, makes enemies explode and spread the acid debuff around them. It's good for clearing distant hordes, but less efficient overall, so mostly stick to using lemon juice.
And if things ever get out of control, you've always got the chem grenade. Just lob it into the biggest cluster of baddies and watch them rapidly turn into that one guy from Robocop. It's one of the best 'oh shit' buttons in the game, so definitely don't neglect it.
Your stim is mostly focused on damage, and intentionally toned down to keep the cooldown short. You want it firing constantly so you're just alternating between Rampage and stim - a nice little loop that keeps you permanently juiced up on all sorts of nasty chems.
This build is a natural frontliner, so tie up hordes before they reach your squishier teammates, and use gas to dissolve problems before they reach critical mass.
It's a surprisingly fast-paced build with powerful damage-over-time effects to complement the sheer brutality of the bone saw. Just beware of gunner packs - they'll shred you pretty much instantly if you overextend or dive in without cover.
Build #4 - The Melee Desperado

The final build is a bit of a weird one since it uses Desperado, a ranged-only ability, to fix melee Hive Scum's biggest weakness - getting deleted by ranged enemies. It shouldn't work on paper, but it absolutely does in practice.
Your main squeeze is the combat axe - a nice and reliable classic that has been chopping heads since Darktide first launched. Just aim at head height and go to town. It's a simple strategy, but I can't deny how satisfying it is to transform enemies into blood fountains. And when big clumps of Crushers show up, heavy attacks to the forehead will get the job done... though you're usually better off pulling out the needle pistol.
It doesn't kill quickly, but it's absurdly efficient. A single poke kills almost every special, while three hits will delete a Crusher. So when armored enemies start piling up, just hose them down and let the acid do its work. It's the perfect "I don't want to deal with this nonsense" weapon.
Same thing with bosses. If the fight is safe and easy, stick with the axe and aim for the head. But the moment things start looking dicey, just swap to needles and watch that health bar melt.
If things start looking really bad and you're about to get pinned down, toss out a Chem Grenade. It's one of the strongest grenades in the entire game, and anything that steps into its AOE will pretty much just dissolve. Use it to clear hordes, hold chokepoints, or just to secure revives. It's remarkably effective.
So why does the build use Desperado as its ultimate? Simple. The axe has enough damage to kill everything without needing Rampage. That frees you to take Desperado, which temporarily makes you immune to ranged damage, thus letting you sprint directly into gunlines in order to axe them a few questions. It's a weird synergy, and I had my doubts while theorycrafting the build, but it works and it works well!
As for your stim, it offers a combination of damage and cooldown reduction. It's intentionally underjuiced as I found the ~1 minute cooldown to be ideal for the build's timings, and for keeping Chemical Dependency rolling.
Unsurprisingly, your job is to frontline: break through enemy formations, keep gunners busy, and keep your squad safe by being the loudest, most annoying thing in the room. It's a reliable, all-rounder build with no major weakness - perfect for when you want to chill & chop.
Need any help?
And there you have it, four Hive Scum builds that have served me well in Auric and Maelstrom missions, and ones that you'll hopefully have a lot of fun with as well.
If you have any questions, about the guide or Darktide in general, drop them in the video's comments and I'll do my best to help you out. And if you've cooked up any spicy builds of your own, definitely share them as I'm sure there's plenty of cool synergies I still haven't even touched.

